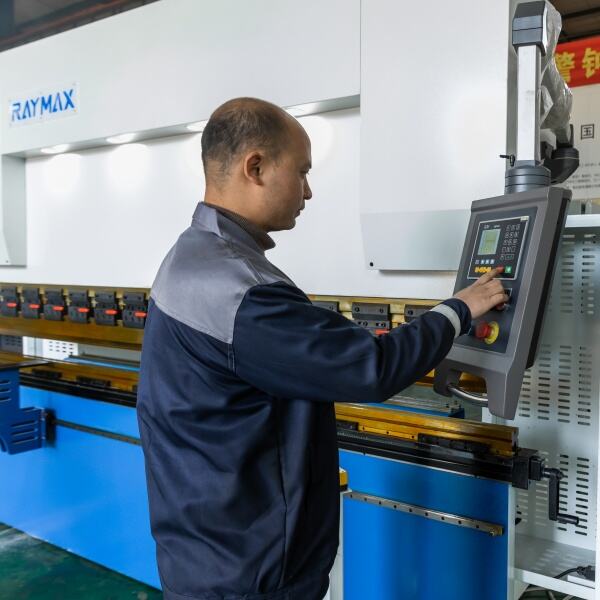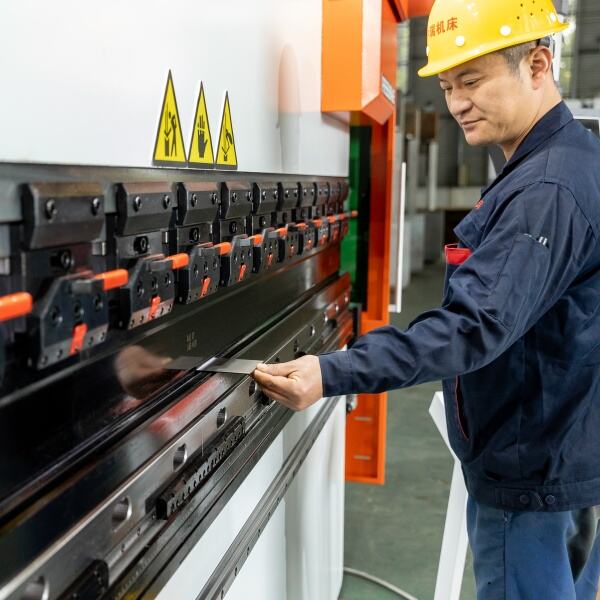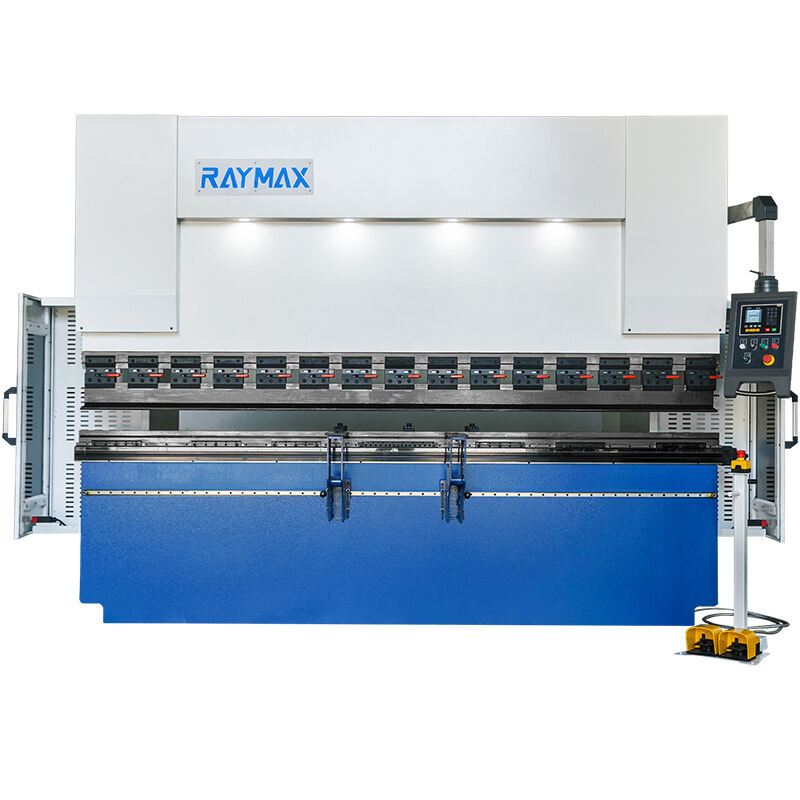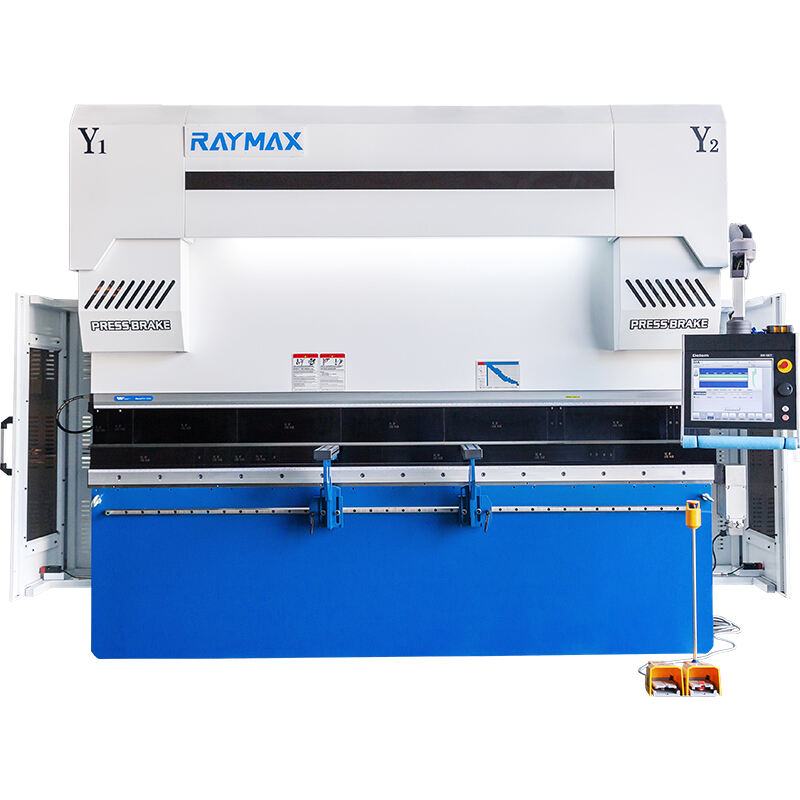
Operating a CNC press brake requires a structured approach that combines adherence to safety protocols, familiarity with the machine’s CNC system, and an understanding of metal forming principles— steps we at RAYMAX emphasize in our operator training to ensure efficient, safe, and high-quality production. While specific steps may vary slightly based on the machine model and application, the following process outlines the standard operation of our CNC press brakes, tailored to industries like automotive, ship, railway, and aviation. Step 1: Pre-Operation Safety and Equipment Check Safety is the first priority. Before starting the CNC press brake, the operator must wear appropriate personal protective equipment (PPE), including safety glasses, steel-toe boots, and gloves (to prevent cuts from sharp metal edges). Next, the operator inspects the machine: check the hydraulic oil level (ensuring it is within the recommended range), inspect hydraulic hoses for leaks, verify that the bending tools (punch and die) are securely fastened, and test emergency stop buttons to ensure they function properly. For example, in a power plant where our CNC press brake is used to bend steel sheets for boiler supports, the operator checks the hydraulic system daily— a leak could lead to pressure loss, resulting in inaccurate bending or machine damage. Step 2: Material Preparation and Setup The operator prepares the metal material, ensuring it is clean (free of dirt, oil, or rust) and cut to the required length (using a shearing machine or laser cutter). Next, the operator mounts the appropriate punch and die on the machine’s ram and bed, respectively. The choice of tooling depends on the material type and bending requirement: for example, a V-shaped die is used for simple angle bends, while a radius die is used for curved profiles (common in automotive body parts). The operator then adjusts the tooling gap to match the material thickness— a critical step to prevent material deformation or tool damage. For a stainless steel sheet of 5mm thickness, the gap is typically set to 5.5mm to allow for proper metal flow during bending. Step 3: CNC System Programming The operator programs the CNC system using either manual input or by loading a pre-stored program (for repeat jobs). Key parameters include: - Material type (e.g., carbon steel, aluminum) and thickness (to adjust pressure and speed). - Bending angle (e.g., 90 degrees for a right-angle bend). - Bending sequence (for parts with multiple bends, to avoid tool interference). - Ram speed (slower for thick materials to ensure uniform bending). Our CNC press brakes feature a user-friendly touchscreen interface with 3D simulation, allowing the operator to preview the bending process and identify potential issues (such as tool collision) before starting production. For example, an aviation parts manufacturer programming a bend for an aluminum alloy sheet can use the simulation to verify that the punch will not hit the die during the second bend, saving time and reducing material waste. Step 4: Test Bending and Parameter Adjustment Before full-scale production, the operator performs a test bend with a sample material. After the test, the operator measures the bending angle and dimensions using calipers or a coordinate measuring machine. If the angle is incorrect (e.g., 88 degrees instead of 90), the operator adjusts the CNC parameters— for instance, increasing the ram's downward stroke by 0.5mm to achieve the desired angle. This step is crucial for industries like railway, where bending angles for train track components must be precise to ensure structural integrity. Step 5: Full-Scale Production and Monitoring Once parameters are finalized, the operator starts full-scale production. During operation, the operator monitors the machine continuously, checking for signs of anomalies (e.g., unusual noise, uneven bending) or material jams). Our CNC press brakes are equipped with real-time sensors that alert the operator to issues like overpressure or tool misalignment, automatically stopping the machine if necessary. For high-volume production (e.g., 1000+ parts per day in automotive), the operator may use the machine’s automatic feeding system to reduce manual labor and increase efficiency. Step 6: Post-Operation Shutdown and Maintenance After production, the operator turns off the CNC system and main power, then cleans the machine— removing metal chips from the tooling and bed, and wiping down the CNC interface to prevent dust buildup. The operator also logs production data (e.g., number of parts produced, any issues encountered) and performs minor maintenance, such as lubricating the machine’s moving parts. This ensures the CNC press brake remains in good condition for future use. At RAYMAX, we provide comprehensive training for operators, both on-site and online, to ensure they master these steps. Our technical team also offers ongoing support, helping operators troubleshoot issues and optimize p
27
Nov
27
Nov
27
Nov
27
Nov